April 15, 2025
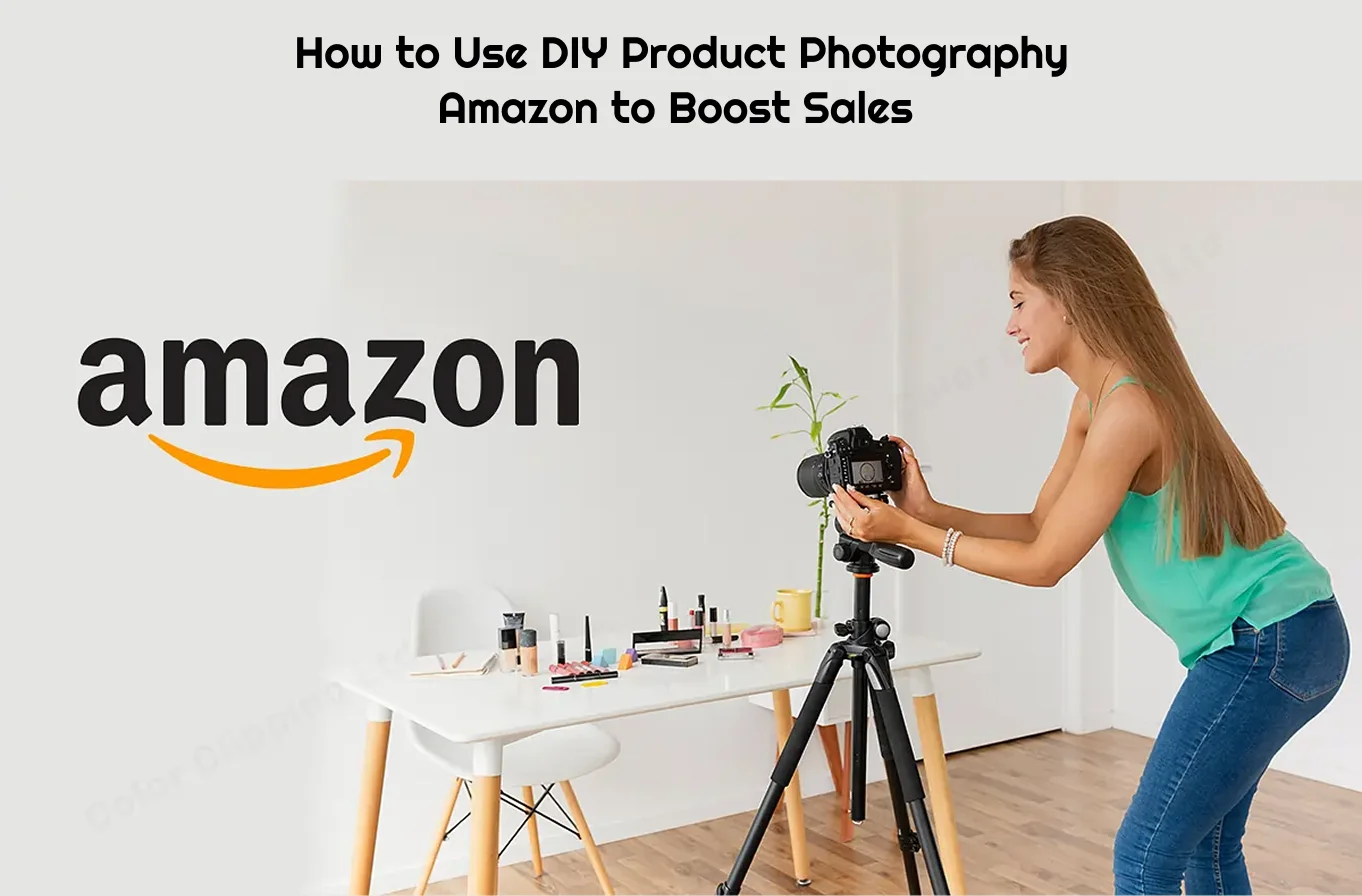
How to Use DIY Product Photography Amazon to Boost Sales
From 2023 to 2025, more Amazon sellers are taking their own photos instead of hiring photographers. Why? Because DIY Product Photography Amazon is easy, cheap, and can still look professional. If done right, your own pictures can help you sell more and save money at the same time.
Let’s learn how you can do it too.
What Is DIY Product Photography Amazon?
DIY product Photography Amazon means taking pictures of your own product without hiring a pro. You use tools you already have—like your phone, a table, and some good light.
You can take pictures:
- At home
- In your backyard
- In your garage
- With a phone or simple camera
Why DIY Product Photos Can Help You Sell More
Pictures are the first thing people see on Amazon. If the photo looks nice, clean, and sharp, people will click. If it looks dark or messy, they skip it.
Good DIY photos help you:
- Get more clicks
- Build trust
- Show off your product better
- Save money
What Do Amazon Buyers Look for in a Product Photo?
Amazon shoppers want clear, honest pictures. Here’s what they like:
- White background: It helps the product stand out.
- Full product view: Show the whole thing, not just part.
- No distractions: No toys, no extra stuff—just the product.
- Zoom-friendly: The image must be big and clear.
What Tools Do You Need for DIY Product Photos?
You don’t need a big camera or fancy gear. Here’s what you need:
- Smartphone with good camera (iPhone, Samsung, Pixel)
- Tripod: Keeps your phone still for sharp pictures
- White poster board or paper: For clean background
- Table or chair: To place your product
- Natural light: Near a window or outside
- Ring light or softbox: Helps if your room is dark
- Photo editing app: Like Snapseed, Canva, or Lightroom
How to Set Up a DIY Photo Space at Home
You don’t need a studio. Just a small corner will do.
Step-by-step:
- Find a spot near a big window for natural light.
- Put a white poster board on a table for the background.
- Place your product in the center.
- Put your phone on a tripod (or use a stack of books).
- Take pictures from different sides.
This setup follows DIY Product Photography Amazon rules and looks pro without the cost.
Best Camera Settings for Amazon Photos
You don’t need fancy settings. But here are simple tips:
- Turn off flash: Natural light is better.
- Tap to focus: Make sure the product is clear.
- Use the back camera: It’s better than the selfie side.
- Use HDR mode: Helps balance light and dark areas.
The image should be at least 1000 pixels on one side. This lets shoppers zoom in.
Types of Photos Amazon Likes
Amazon wants more than just one picture. Use different types to help shoppers understand your product.
1. Main image
- On white background
- Only the product
- No text or props
- Show every part of the product
- Show texture or small details
- Show product in use (on table, in hand, etc.)
- Compare the product to a ruler or coin
Tips to Make DIY Photos Look Professional
Here are expert tips that make a big difference:
- Keep the background simple: Use white paper or board.
- Don’t use filters: You want the product to look real.
- Clean your product first: No dust or smudges.
- Take extra shots: More photos = more choices.
- Use a grid on your camera: Helps center the product.
Editing Your Photos (The Easy Way)
You don’t need Photoshop to fix your pictures. Use simple apps like:
- Canva: Great for resizing and background fix
- Snapseed: For brightness, color, and sharpness
- Remove.bg: To make the background white
- Too dark? Brighten it.
- Colors look off? Fix with auto-correct.
- Background not white? Remove and replace it.
How to Know If Your Images Are Amazon-Ready:
Ask yourself:
- Is the background white?
- Is the product clear and big?
- Is there at least one zoomable image (1000+ pixels)?
- Is the product shown from multiple angles?
- No extra stuff or text?
You can also use Amazon’s Listing Quality Dashboard to check for any problems.
What Are Common Mistakes in DIY Photography?
Avoid these:
- Busy backgrounds: It makes the product hard to see.
- Using flash: Creates hard shadows and glare.
- Blurry shots: Use a tripod or hold your phone still.
- Over-editing: Don’t make the product look fake.
- Wrong size image: Small pictures don’t zoom.
Can You Really Boost Sales with DIY Photos?
Yes. Research shows that listings with high-quality images get:
- More clicks
- Better reviews
- More trust from buyers
Many sellers have seen a boost in sales just by improving their pictures. With DIY Product Photography Amazon, you can do the same.
Should You Ever Use a Pro Photographer?
DIY is great for starting out. But if your store grows, a pro might help you scale up.
Use DIY for:
- Testing new products
- Small batches
- Saving money
- Big launches
- Fashion or people shots
- Building a big brand
Conclusion
You don’t need a fancy camera, studio, or big budget to take great Amazon product photos. With DIY Product Photography Amazon, you can do it yourself—with just a phone, some light, and a little practice.
Take time to plan your shots. Use clean backgrounds. Edit your images. And follow Amazon’s rules.
Your photos will shine. And your sales will grow.
FAQs
1. What does diy product photography Amazon mean?
It means taking your own product pictures for your Amazon listing without hiring a pro.
2. Can phone photos really work for Amazon?
Yes. Most smartphones today take great pictures if you use good lighting and a steady hand.
3. Do I need a white background?
Yes. Amazon requires a pure white background for the main image.
4. What if I can’t afford a ring light?
Use natural light near a window. It’s free and works well.
5. How many pictures should I upload to Amazon?
Amazon allows up to 9. Use at least 5 to show all sides, close-ups, and lifestyle views.
Recent Blogs
Seasonal Products for Your Amazon Business: Is It a Good Choice?
Every Amazon seller ask this question: Should I launch a seasonal or perennial product? This common confusion is understandable. ...

Mastering the Amazon Product Title: Best Practices, Rules, and Optimization Tips
When it comes to selling on Amazon, your Amazon product title is one of the most powerful elements that can make or break ...

Amazon Prime Days 2025 - Everything You Need to Know
Amazon Prime Days 2025 are expected to be bigger, better, and more competitive than ever before. Whether you're a ...
How to Earn the Amazon Best Seller Badge and Skyrocket Your Sales
In the highly competitive Amazon marketplace, every seller dreams of having their product stand out. One of the most ...

Amazon FBA or FBM: Which Fulfillment Method is Right for Your Business?
Deciding whether Amazon FBA or FBM is the best option for your online store is one of the most crucial decisions ...